

The function of the drain pan, inspection of the drain pan, replacement of the drain pan: PartsAPS

Our today’s pick is all about Drain Pan. PartsAPS has collected all the info related AC Drain Pan of the air conditioner – Function of the drain pan, inspection of the drain pan, replacement of the drain pan etc. Hope that after going through this article, it empowers you to inspect and replace your AC drain pan by yourself. And if you are looking for drain pan replacements check our online store for high-quality OEM parts at a reasonable price.
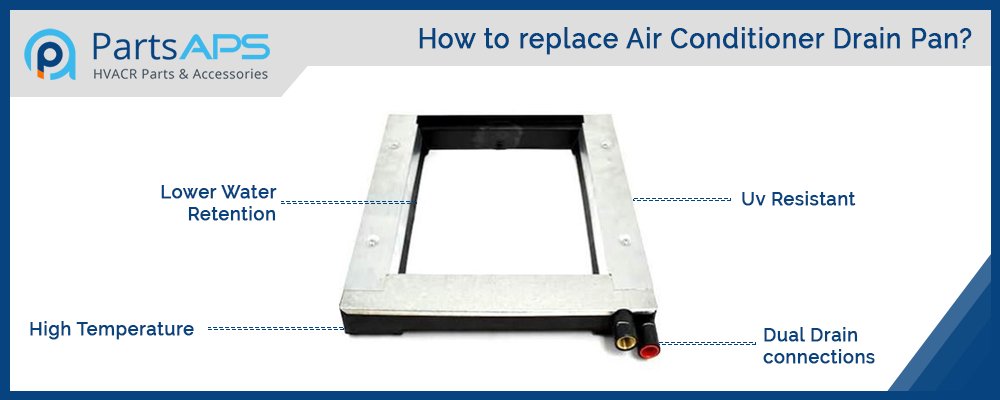
To collect water that results from the air conditioning process, this drain pan is used. During winter the air conditioning is used to keep the air hot. The drain pan is in the path of hot air with each cycle because the condensate Air Conditioner drain pan is located right by the furnace, either on top of below. Eventually, it leads to cracks, when the constant batter of heat sucks out the moisture of these plastic pans.
When homeowners return to the air conditioning in the summer season, water slips through the cracks of the pan, as naturally, a cracked pan is unable to hold water. Then the accumulated water either pool at the bottom or trickle throughout the furnace interior.
Unfortunately, these pans are designed to carry small amounts of water. They’re built to hold water for a short amount of time as they are quite shallow. And that accumulated water should empty through the condensate line.
Other than this condition, the drain itself can be clogged. So the water overflowed due to clogging as they never make it through the drain line.
How to Inspect AC Drain Pan:
When warm air passes over cold evaporator coils, the drain pan overflows drain pan, the air condensate as the pan is located underneath your indoor evaporator coils. You’ll be able to locate and evaluate the condition of the overflow pan and PVC drain pipe, by using a flashlight and about a gallon of water. With water sealant or epoxy glue, small holes and even cracks can be patched up. However, it’s best to contact a professional for replacement, if it is beyond a simple repair.
Simple steps to inspect Drain pan:
- 1. Allow the AC to run for 20-30 minutes
- 2. Look for any evidence of water around the unit by locating the indoor air handler.
- 3. The reason behind the leak may be a cracked AC drain pan
- 4. Turn off power to the air conditioner, before removing the access panel and inspecting the overflow pan
- 5. For any obvious backups or debris, check the opening to the condensate drain line. To inspect the Air Conditioner drain pan, use a flashlight.
- 6. You probably have drain line clog, if there is condensate in the overflow pan. So try to clean out as best as you can.
- 7. To verify that water drains freely into the secondary drain line pour water and observe the water level in the pan.
- 8. If the drain pan is cracked then it is better to replace the entire drain pan than trying to fix it.
Points to be remembered:
There basically two types of drain pan – permanently affixed to the unit (below the evaporator coil) and other one is auxiliary, located further below. And you will need to contact a professional for any work on the permanent one, while you are able to remove, clean, fix, and replace the auxiliary pan. So inspect carefully, which drain pan is defective.
Installation Instruction of Drain Pan
Precaution: Disconnect the main electric supply to the indoor unit and turn the thermostat to it’s off position before attempting any maintenance. Failure to do so can result in electrical shock or severe personal injury.
- 1. Remove screws securing coil access door and remove the door
- 2. Remove coil by sliding coil forward out of the casing
- 3. Remove the foam tape on side of drain pan on which the new drain pan is to be installed. Install the drain pan. Drain pan connections must be toward the front of the coil. Pan must be under the indoor coil when in the installed position.
- 4. Install coil with the drain pan into the casing.
- 5. Insert drain pan extension into a coil on supply air side adjacent to coil header
- 6. To ensure the wet ability of coil surfaces for promoting water drainage, make sure that you have cleaned the coil
- 7. Replace the coil access door with the removed screws.
PartsAPS tried to gather all the information related to drain pan inspection and replacement of the broken pan. And “Best of Luck” for your next DIY project of replacing drain pan of your Air conditioner.
